vevor_vinyl_cutter_to_t_shirt_manual
Vinyl cutter to T-shirt manual
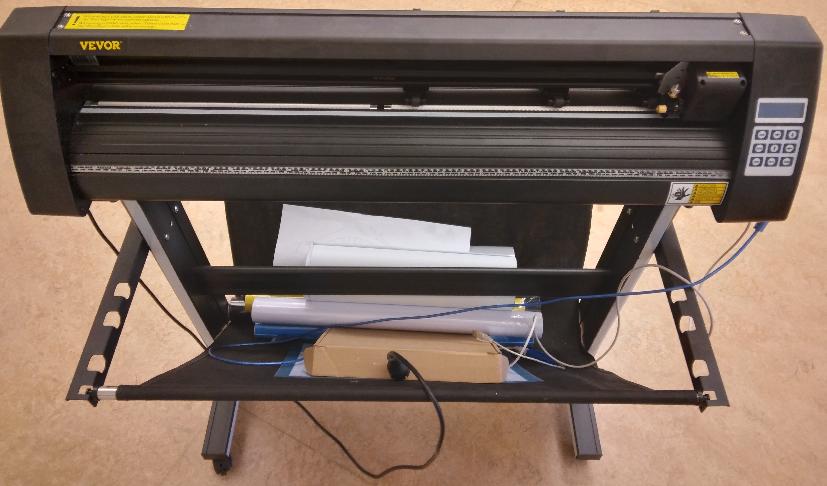
| Our Vevor vinyl cutter from the front | Our Vevor vinyl cutter from an isometric perspective |
|---|---|
 |
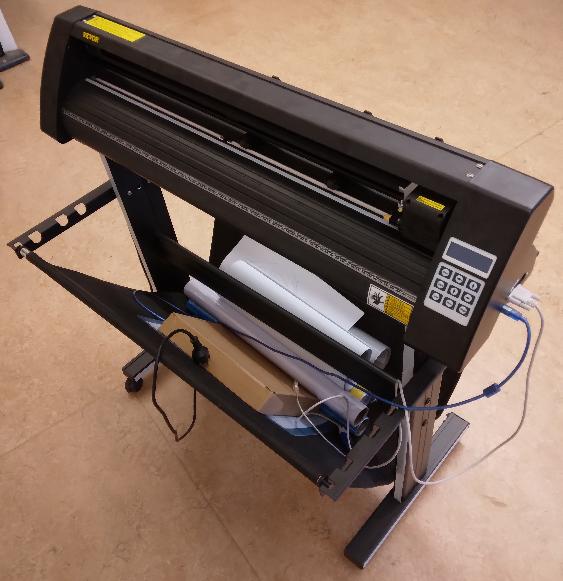 |
Manual for using the Vevor vinyl cutter to create a T-shirt
Time estimates
- Most time will be spent peeling plastic from the vinyl
- Schedule two hours to produce your first T-shirt with one print
- Schedule 10 minutes to produce your tenth T-shirt with one print, 15 minutes for two print
Procedure

Overview of the procedure
- Install Inkcut
- Setup Inkcut
- Get T-shirts
- Get vinyl
- Connect the vinyl cutter
- Place foil of vinyl cutter
- Set up Inkcut connection
- Use Inkcut
- Transfer vinyl to T-shirt
\pagebreak
1. Install Inkcut
Inkcut is a program to send things to cut to the vinyl cutter. It works under Linux, Mac and Windows. This guide shows how to do this for Linux.
Install the Debian packages:
sudo apt-get install python3-pip python3-pyqt5 python3-setuptools
sudo apt-get install libcups2-dev python3-pyqt5.qtsvg
Create a (mandatory!) virtual environment for Inkcut:
python3 -m venv ~/inkcut_venv
Install the Inkcut and PyQt5 Python packages in the virtual environment”
~/inkcut_venv/bin/pip install inkcut PyQt5
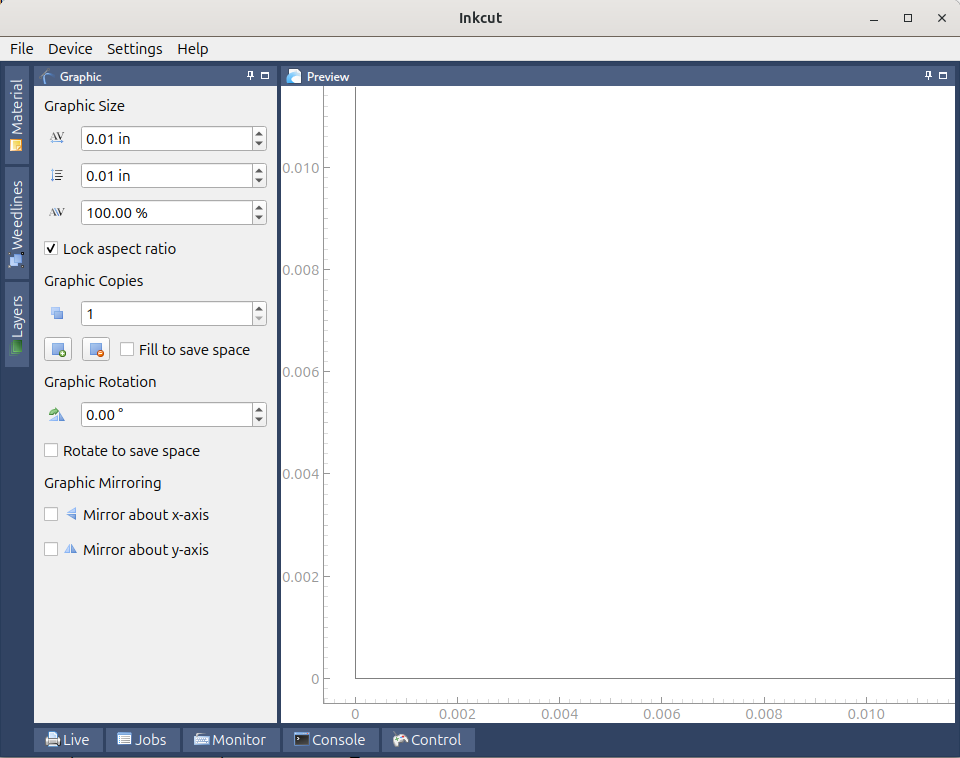
Now you can start inkcut with:
~/inkcut_venv/bin/inkcut
\pagebreak
2. Setup Inkcut
- See Setup Inkcut notes for the notes behind this
Add yourself to the dialout group:
sudo usermod -a -G dialout "$USER"
Restart (yes, a cold boot!).
3. Get T-shirts
Get one or more T-shirts.
| Company | Address | Price | Description |
|---|---|---|---|
| Lager 157 | Kungsgatan 95 | 30 | Has S, M, L and XL |
| New Yorker | Marknadsgatan 1 | 79 | ?All sizes |
- Price is in kroner per (cheapest) T-shirt
4. Get vinyl
Get suitable vinyl
Suitable foil looks like this:
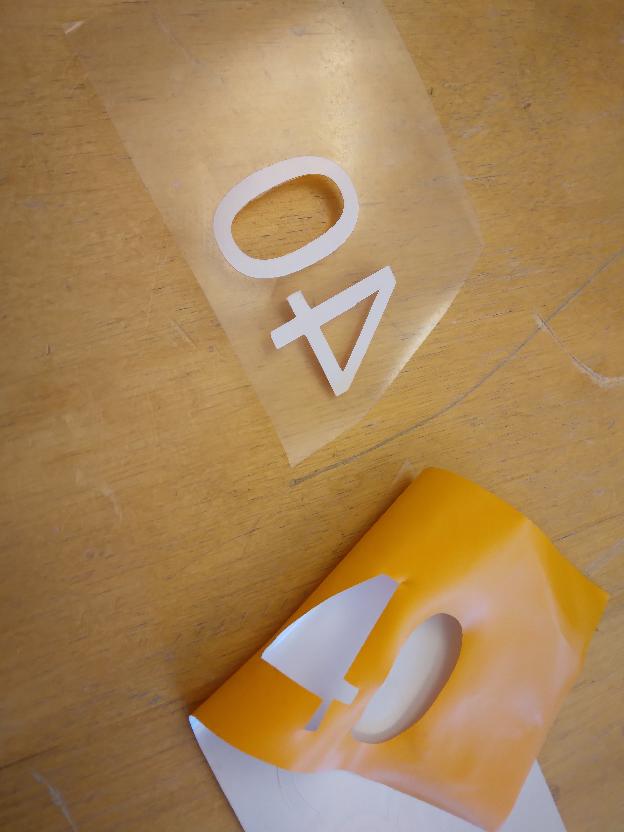
- The foil feels smoother than a sticker (‘klistermärke’)
- The foil is shinier than a sticker
A good place to vinyl is at https://www.scandraft.se/, where we have bought Siser P.S. Film Easyweed, which works well. You can order longer rolls: we’ve ordered rolls of 25 meters, for an unknown price (if you know the price, please contribute).
\pagebreak
5. Connect the vinyl cutter
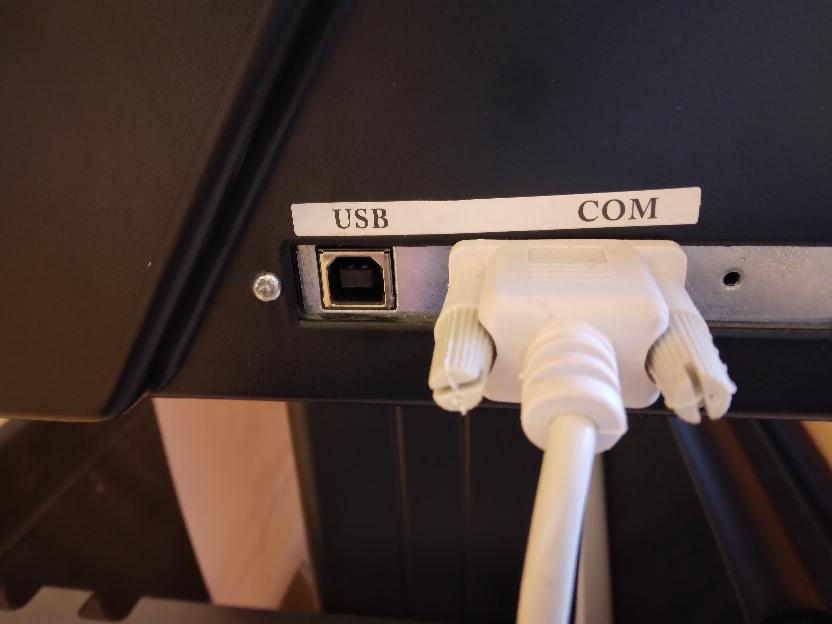
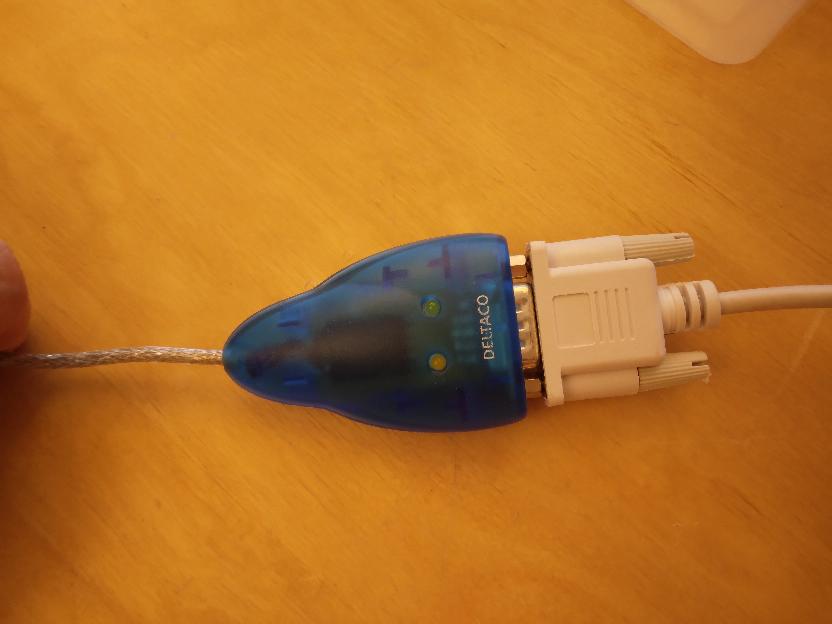
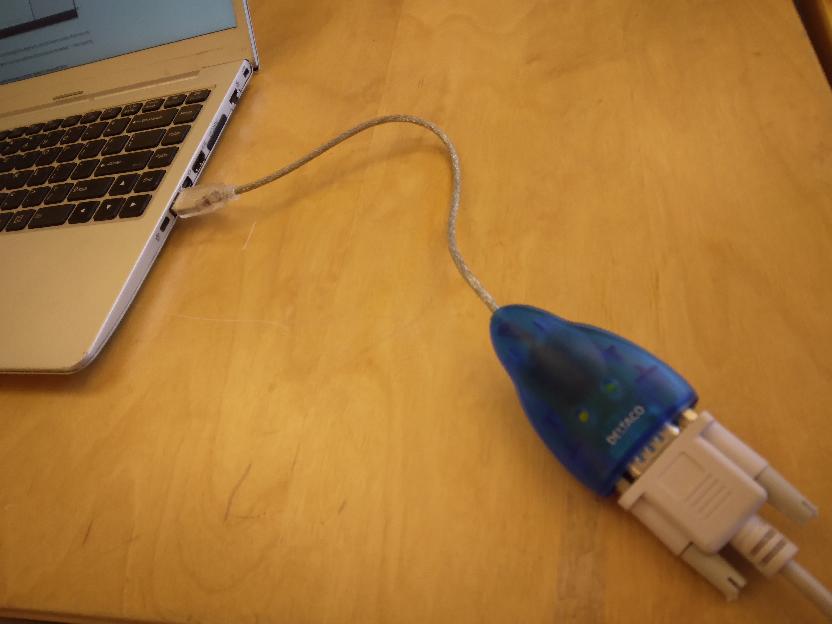
Plug in the correct USB cable from the vinyl cutter to your computer:
| Vinyl cutter side | Center | Computer side |
|---|---|---|
 |
 |
 |
6. Setup the vinyl cutter
The vinyl cutter has three parameters:
- Origin: the bottom-left of the cut, move the red dot to the bottom-left of the vinyl
- Speed: the speed of the blade
- If the speed is too high, no idea what happens. Please contribute if you know!
- If the speed is too low, the process takes needlessly longer
- Force: how much force the blade applies to the vinyl
- If the force is too high, the cutter will go through the vinyl
- If the force is too low, the vinyl cannot be removed easily
| Vinyl | Speed (mm/s) | Force(g) | Recommendation source |
|---|---|---|---|
| Siser P.S. Film | 20 | 120 | Trying out, works! |
| Siser P.S. Film | 300 | 60 | manual |
\pagebreak
7. Place foil of vinyl cutter
Place the foil on the vinyl cutter, with the white side up.
| View | Before cutting | After cutting |
|---|---|---|
| Slice |  |
 |
| Isometric |  |
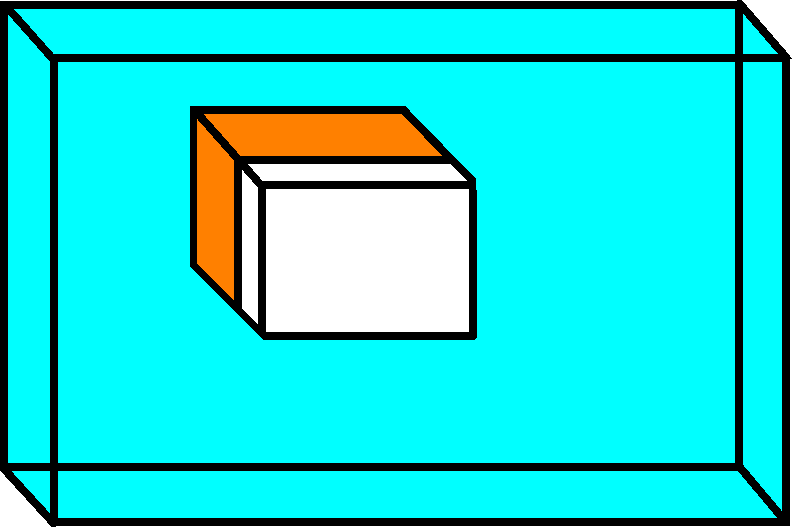 |
Structure of the foil and what will be cut away. Light-blue: thick, transparent layer, do not cut, can be separated from orange layer by hand. Orange: the color of the print. White: the glue connecting the print to the T-shirt
The knife cuts the white and colored layer only. The thick and transparent layer needs to remain intact.
\pagebreak
8. Set up Inkcut connection
| Go to the ‘Configure device | Connection’: |
- Type: Serial port
- Port:
ttyUSB0. If you cannot selectttyUSB0, you’ve used the wrong USB cable coming out of the vinyl cutter :-) - Baudrate: 38400
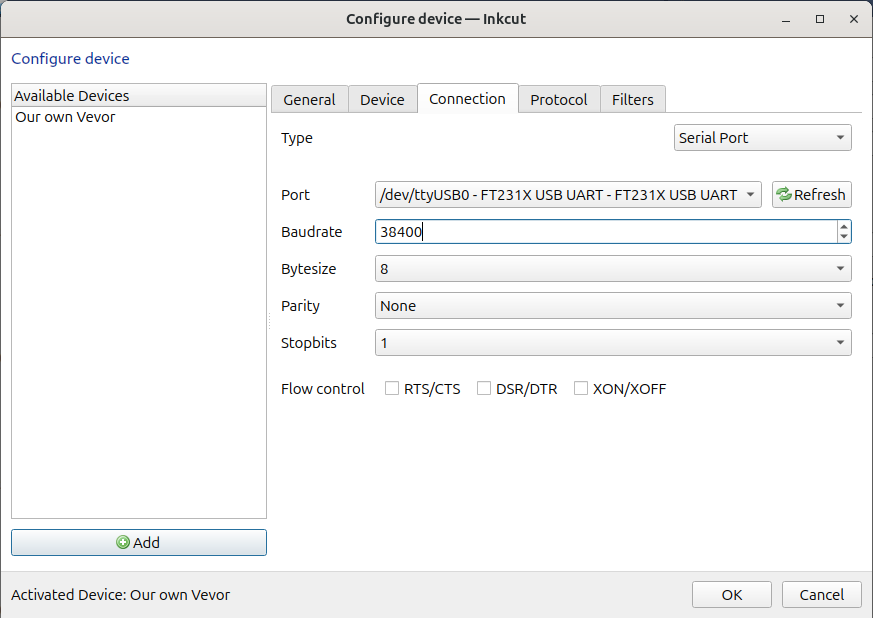
Use the serial port with a baudrate of 38400. If you cannot select
ttyUSB0, you’ve used the wrong USB cable coming out of the vinyl cutter
\pagebreak
9. Use Inkcut
Load an SVG.
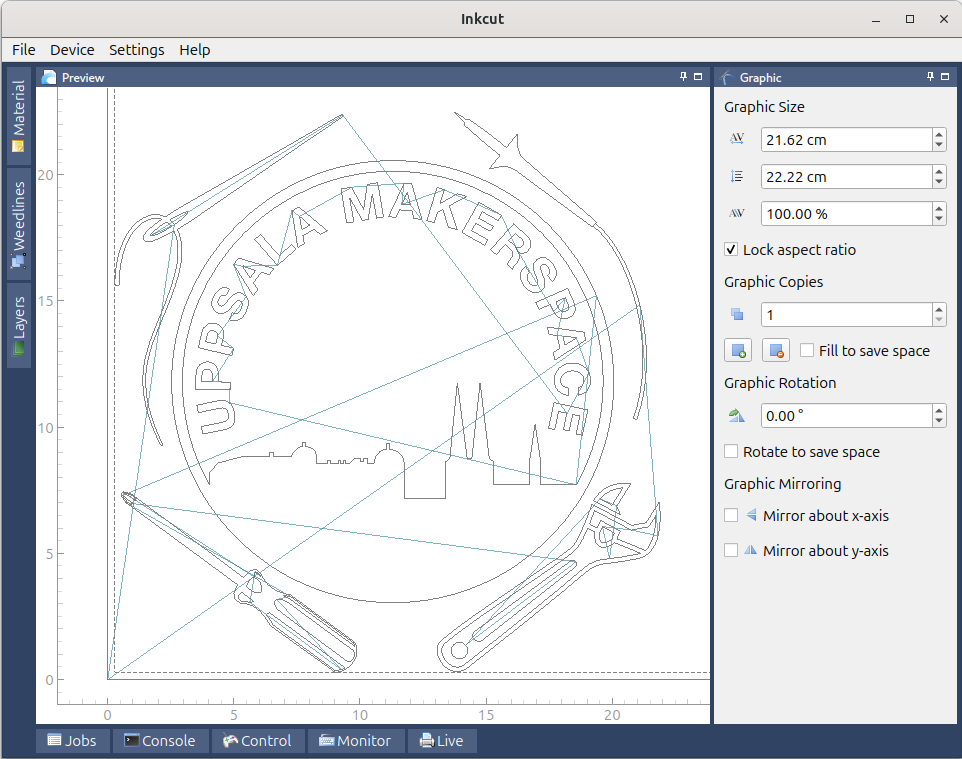
Fig 5. Inkcut in action
Don’t forget to mirror letters. These letters will be mirrored when put on a T-shirt. Click on ‘Mirror y-axis’ (at the bottom-right of the screen) to mirror the letters horizontally.
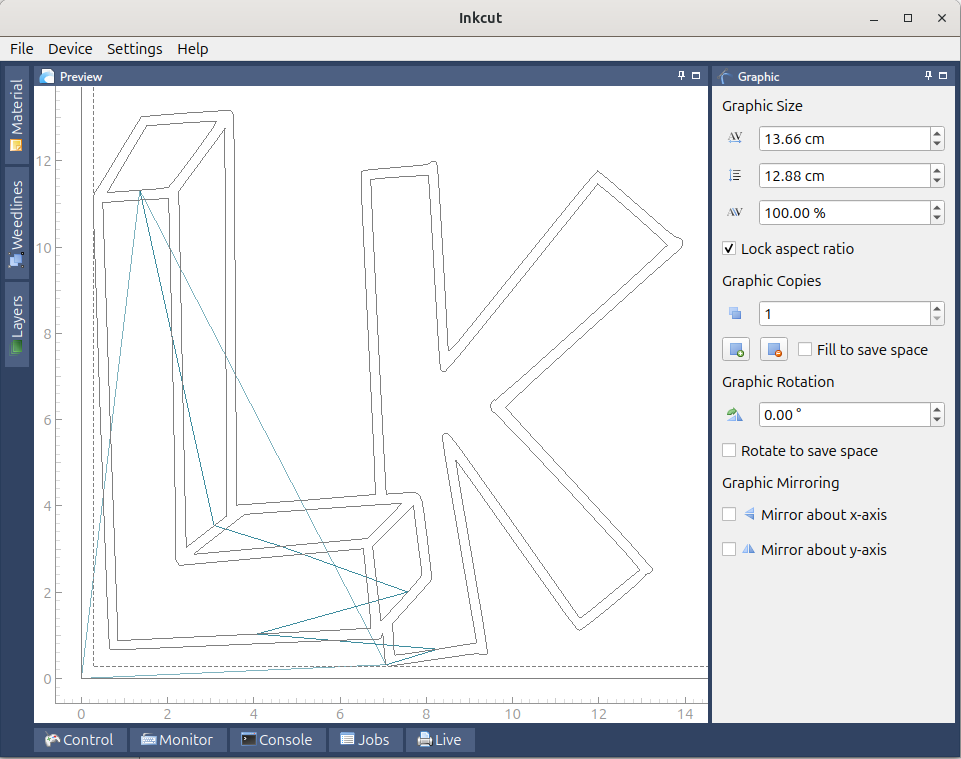
Fig 6. Don’t forget to mirror letters. These letters will be mirrored when put on a T-shirt
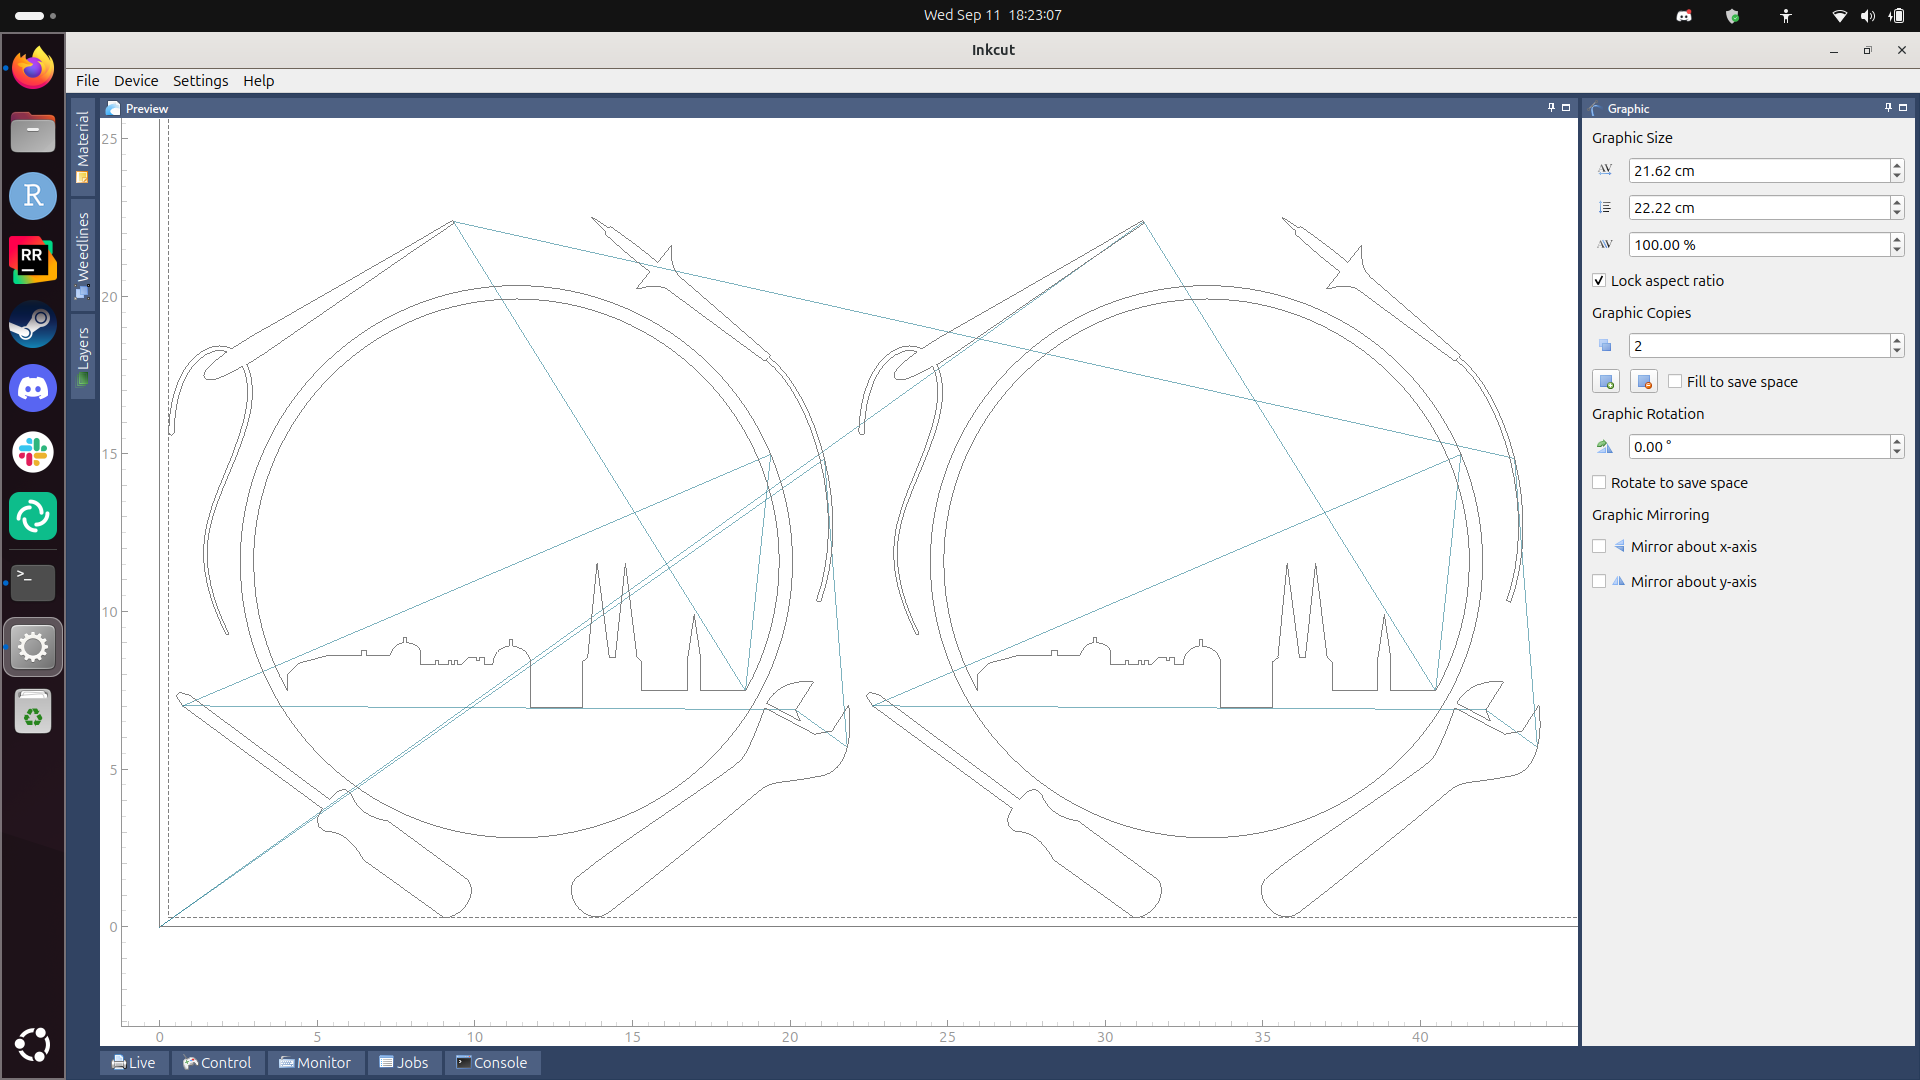
Fig 7. Don’t do two copies like this, this is wasteful.
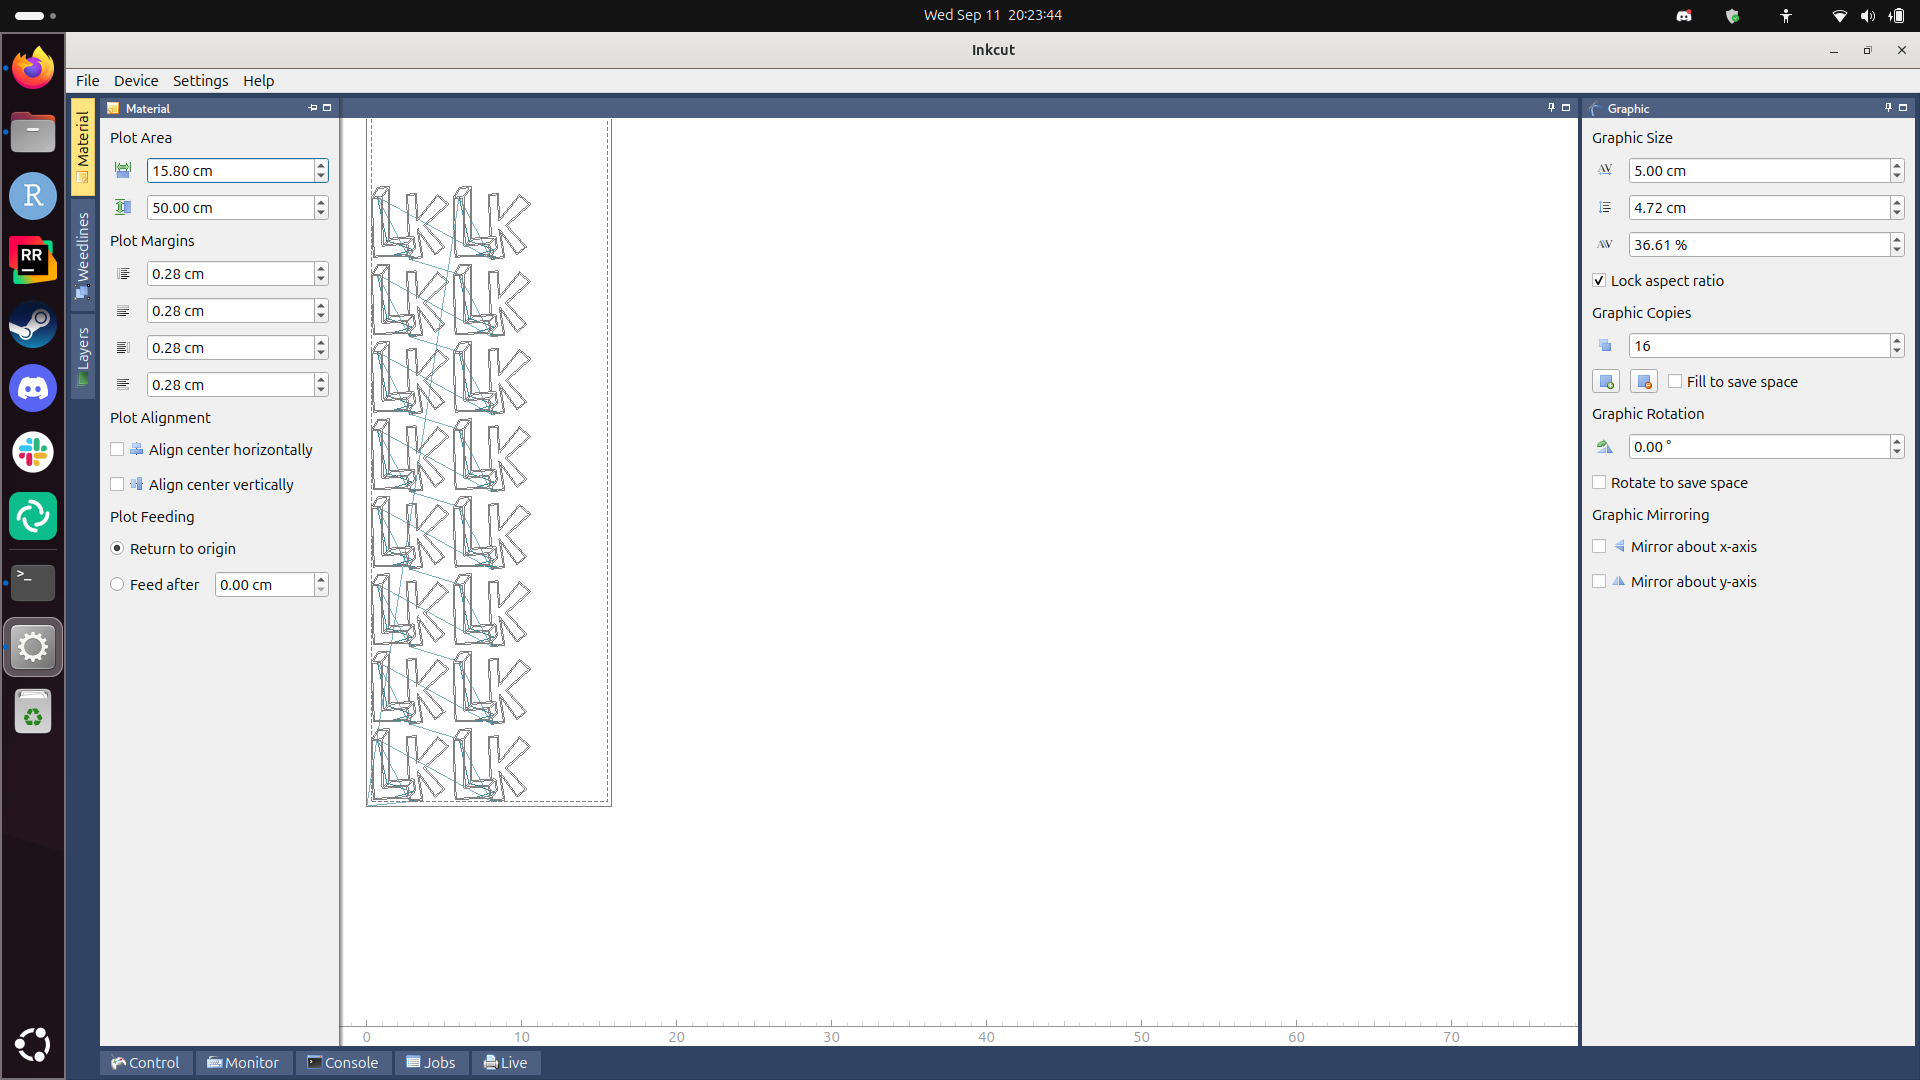
Fig 8. Do many copies like this: this is not wasteful
| Click on ‘Device | Send to device’ to start the vinyl cutter: |
|  |
Click on ‘Device Send to device’ to start the vinyl cutter
10. Setup heat press
| Vinyl | Temperature (C) | Time (s) | Recommendation source |
|---|---|---|---|
| Siser P.S. Film | 180 | 10 | Trying out, works! |
| Siser P.S. Film | 150 | 15 | manual |
\pagebreak
11. Transfer vinyl to T-shirt
Put the remainder of the foil on the T-shirt, with the colorful side up.
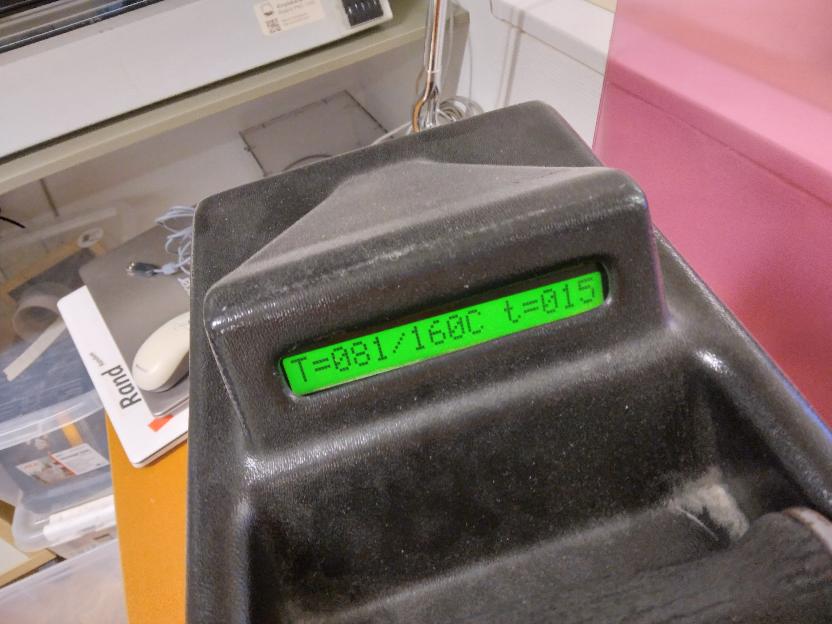
Press not yet ready. It should say
T=160/160C. A temperature from 155 to 165 degrees Celcius would also be fine.
Heat up the heat press, this takes about 15 minutes.
Place the T-shirt under the press, with the foil at the right spot.
When the heat press is warmed up, lower the press. After around 20 seconds, the press will start to beep. Raise the press again.
Wait for the print to cool off.
Carefully peel off the transparent layer from the shirt.
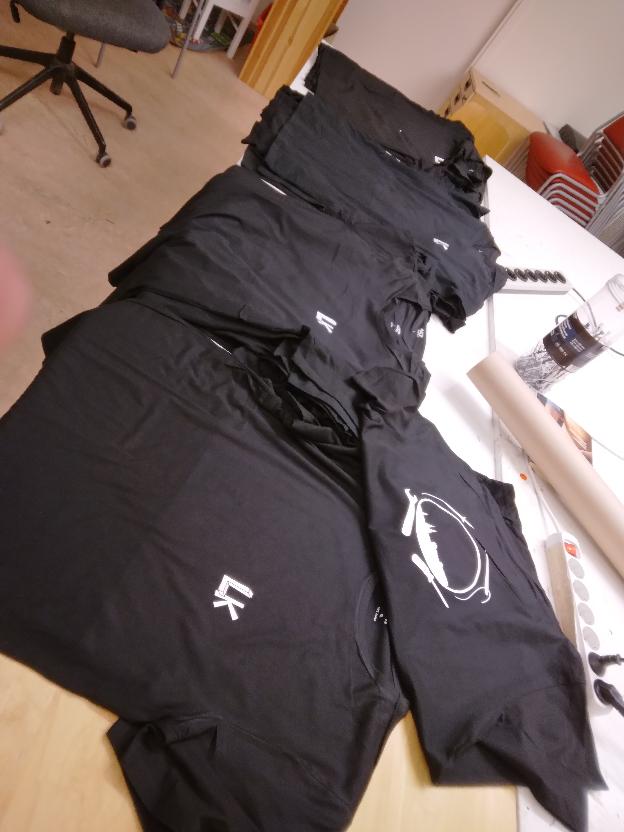
Done!
\pagebreak
Troubleshooting
The vinyl cutter is wrinkling the paper
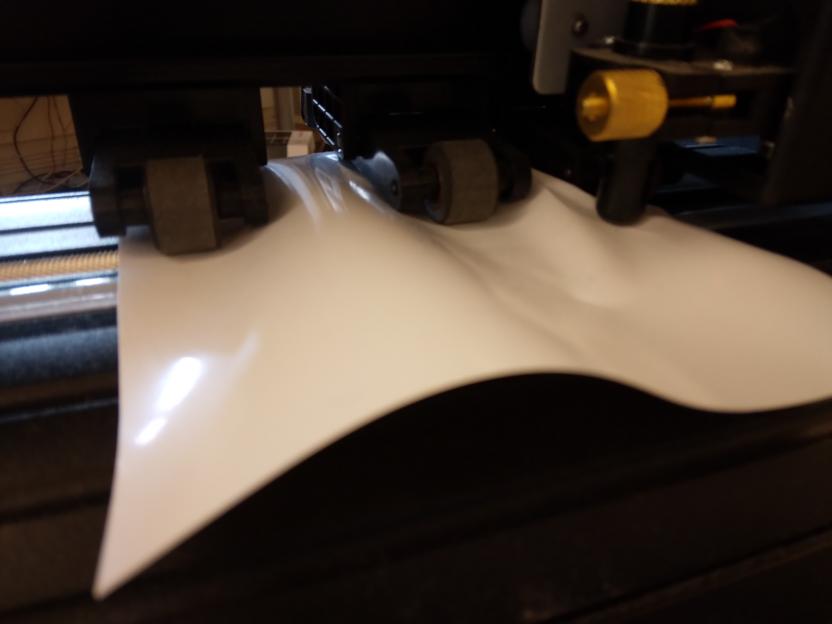
The vinyl cutter is wrinkling the paper.
This happens when at least one wheel of the three movable heads is not on a roller at the bottom:
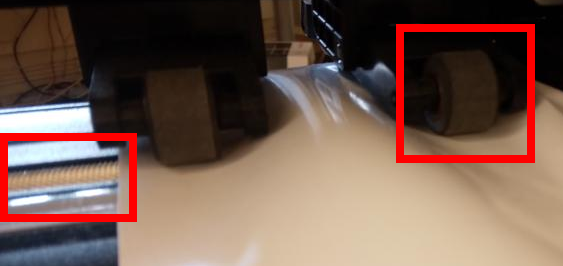
The right wheel (right rectangle) is not on the roller (partially shown and indicated by the left rectangle)
The vinyl cutter is confused
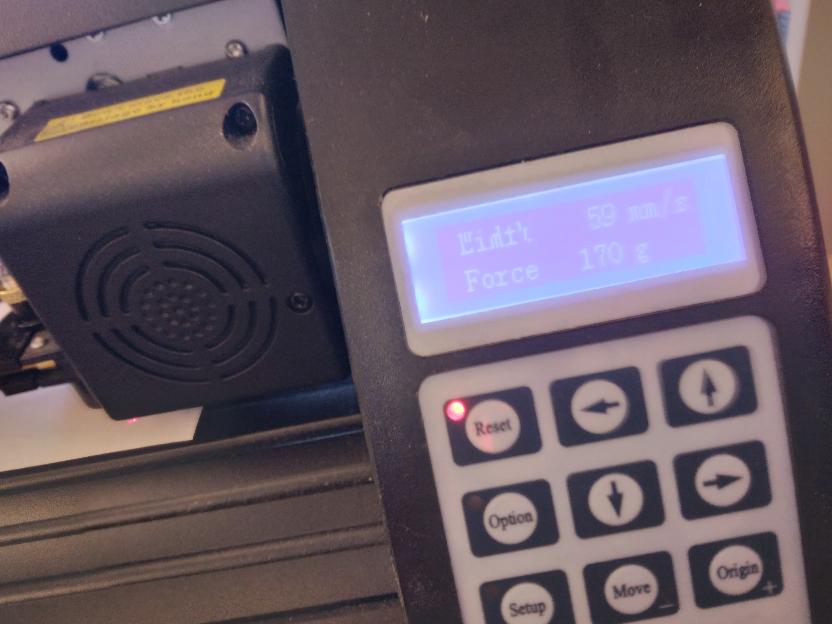
This may happen when you send multiple prints at the same time. Press reset, close Inkcut, press reset, start Inkcut and try again